How to Create and Upload an Scp
I was asked how to transfer files using scp without a password using a pem file for hallmark. Later on reading this tutorial, yous'll know how to generate an SSH key and convert it to a pem file to download or upload files using the scp control.
If you already have your .pem central, you can jump to the Using scp with pem section.
Generate a pem key for scp:
To begin, let'southward generate the ssh central pair past running the command below.
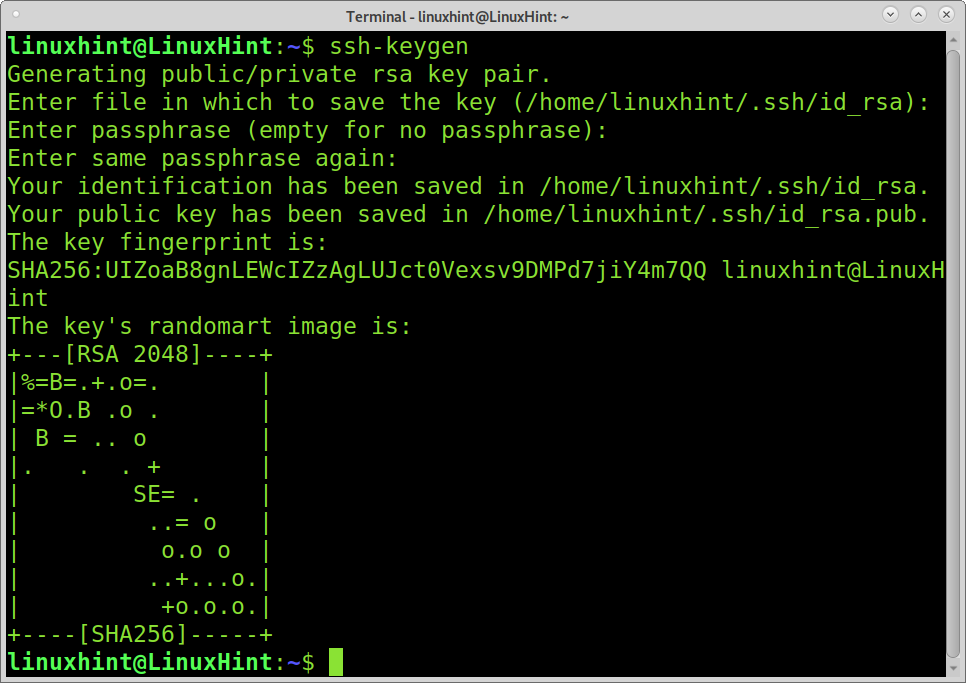
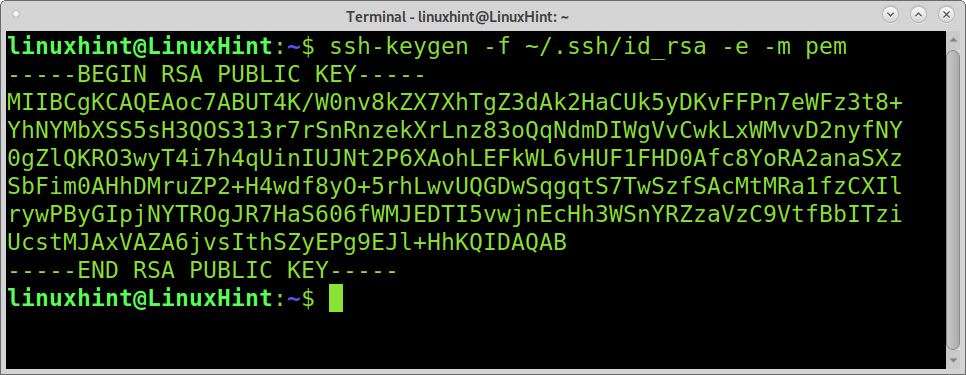
Execute the post-obit control to create the .pem file.
ssh-keygen -f ~/.ssh/id_rsa -e -m pem
In one case created the key pair, copy the public key to the server yous want to connect to using a pem file for hallmark by running the control below. Replace the username "kali" with your username and the IP address with your server IP.
ssh-re-create-id kali@192.168.i.100

After running the command above, a file named pk_dsa.pem should be created within your home .ssh directory.
Now you are ready to download and upload files with scp using a pem file.
Upload file or directory using scp with pem:
To use the scp control with a key pair, you need to implement the -i (Place file) flag.
In the starting time case, I prove how to upload a file named linuxhintsignal to the server 192.168.one.100.
Equally you tin can see in the image beneath, the scp command is followed by the -i flag and the pem file named pk_dsa.pem. Then the file to send is specified, followed by the remote username and server. The concluding colon after the IP defines the default path, which is the kali user home equally the destination directory.
scp -i pk_dsa.pem linuxhintsignal kali@192.168.1.100:

Equally you can see, the file was uploaded properly within the remote user'southward home directory (kali).
The following example shows how to upload a directory (named directory) to the subdirectory named dir, located in the remote home of the user kali.
Every bit you lot tin can see, to upload directories recursively, you need to add the -r flag.
Notation: I got an error I solved when trying to capture this example by specifying the .pem path (.ssh/pk_dsa.pem) as shown in the example below.
scp -r -i .ssh/pk_dsa.pem directory kali@192.168.1.112:dir

The directory is at present nether the target's dir subdirectory.
Download file or directory using scp with pem:
In the previous instance, the destination directory was defined at the end of the control. The destination directory must as well be divers at the cease of the command when downloading files, as shown in the post-obit example. This is considering scp was designed to be like equally possible to the regular cp command.
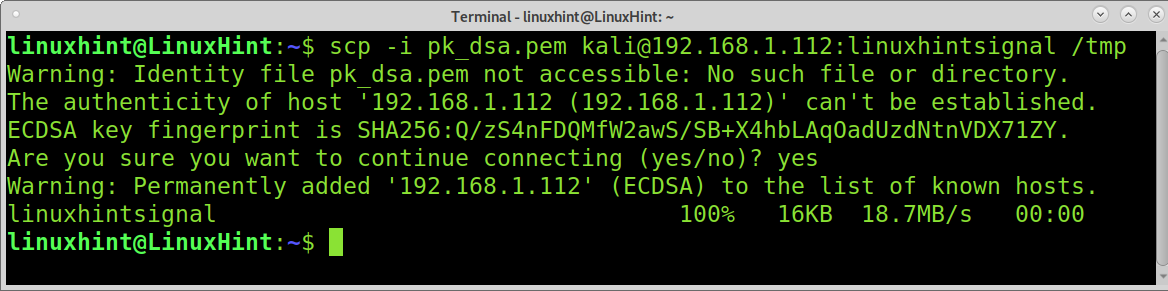
In the following example, the file linuxhintsignal is downloaded to the local /tmp directory defined at the command's end.
scp -i pk_dsa.pem kali@192.168.1.112:linuxhintsignal /tmp
Downloading a directory recursively also requires the -r flag. The dir remote directory is downloaded to the current local directory, defined with a dot in the following instance.
scp -r -i pk_dsa.pem kali@192.168.ane.112:dir .
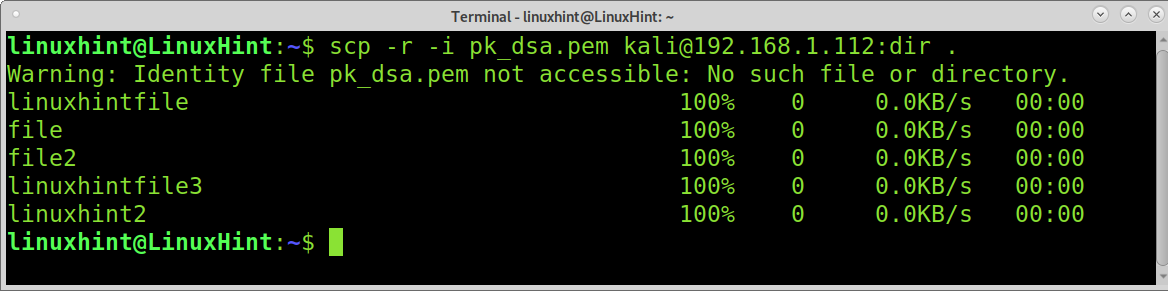
Every bit you lot can see, the directory transference was done recursively.
Conclusion:
As y'all can see, using scp with a pem file is simple and just requires adding the -i flag.
Public key authentication has pros and cons when compared to password authentication.
In the first place, generated public keys are stronger than human passwords. Contrary to password authentication, when using a public key, your private key isn't delivered to the server (the server sends the public key to the client), so it isn't vulnerable for Human In the Middle attacks.
Many administrators choose password authentication because information technology is piece of cake to share when compared to fundamental pairs.
Thank you for reading this tutorial explaining how to utilise scp with a pem file; I hope it was useful. Keep following us for more Linux tips and tutorials.
About the author
![]()
David Adams is a Organisation Admin and writer that is focused on open source technologies, security software, and reckoner systems.
Source: https://linuxhint.com/transfer-files-using-scp/
0 Response to "How to Create and Upload an Scp"
Post a Comment